I might have just completed the baking mission of my life.
Well, at least, to date.
A month ago, not knowing how I was going to do it, much less knowing if I had the courage to attempt it, I agreed to bake 40 4-inch round cakes for a 50th birthday party. One month, 7 days of baking, 43 cakes, 5 batches of cream cheese icing, 2 amazing helpers, and 1 unforgettable experience later, I am still standing, albeit with a slight hunch, and perhaps with a few new gray hairs! The birthday party is now 5 days behind me. Did it go off without a hitch?
Hm...
The tasting:
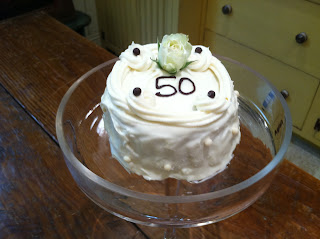
I showed up at my client’s house for a tasting about 3 weeks ago. I brought 2 cakes - 1 chocolate (my specialty), 1 vanilla. I wanted to do chocolate with buttercream frosting, fresh roses, and happy birthday written on the top of each one. I left having agreed to do red velvet with cream cheese icing, a 50 written in melted chocolate, a mini white rose, and detailed piping with chocolate pearls on the top, with white chocolate pearls along the side. Um, was I insane? Cake decorating is not my forte, so what the heck was I thinking?


The details:
The cakes were to sit on glass stands that stood about 20 inches high, with lids to cover them. So I would have to bake the cakes in my kitchen (as opposed to a commercial kitchen), transfer them onto baking sheets, drive the cakes over to the house (gulp), and then do the final transfer and touch ups on site the day of the party (double gulp). That’s a lot of touch ups, friends, which means a lot of potential for disaster!
The week before the party:
I raided an amazing restaurant supply store and 3 different grocery stores (on several occasions throughout the week, I might add) for all my ingredients and supplies. Hundreds of dollars later (once again, thank you visa!), I was set. Oh - except that I could only find three 4-inch round cake pans in the city. That meant I could only bake 3 cakes at a time (I didn’t want to take the chance and bake with different sized pans and then cut the cakes down to size because uniformity would have been a challenge I didn’t want to deal with). Fun times
I had a 20 square foot sized kitchen, a few inches of counter space, a standard sized oven, and a standard sized fridge. Not ideal for baking 40 cakes, but by gosh, I was going to make it work! It just meant that I was going to have to eat my way through the fridge and freezer in order to make space. No big deal.
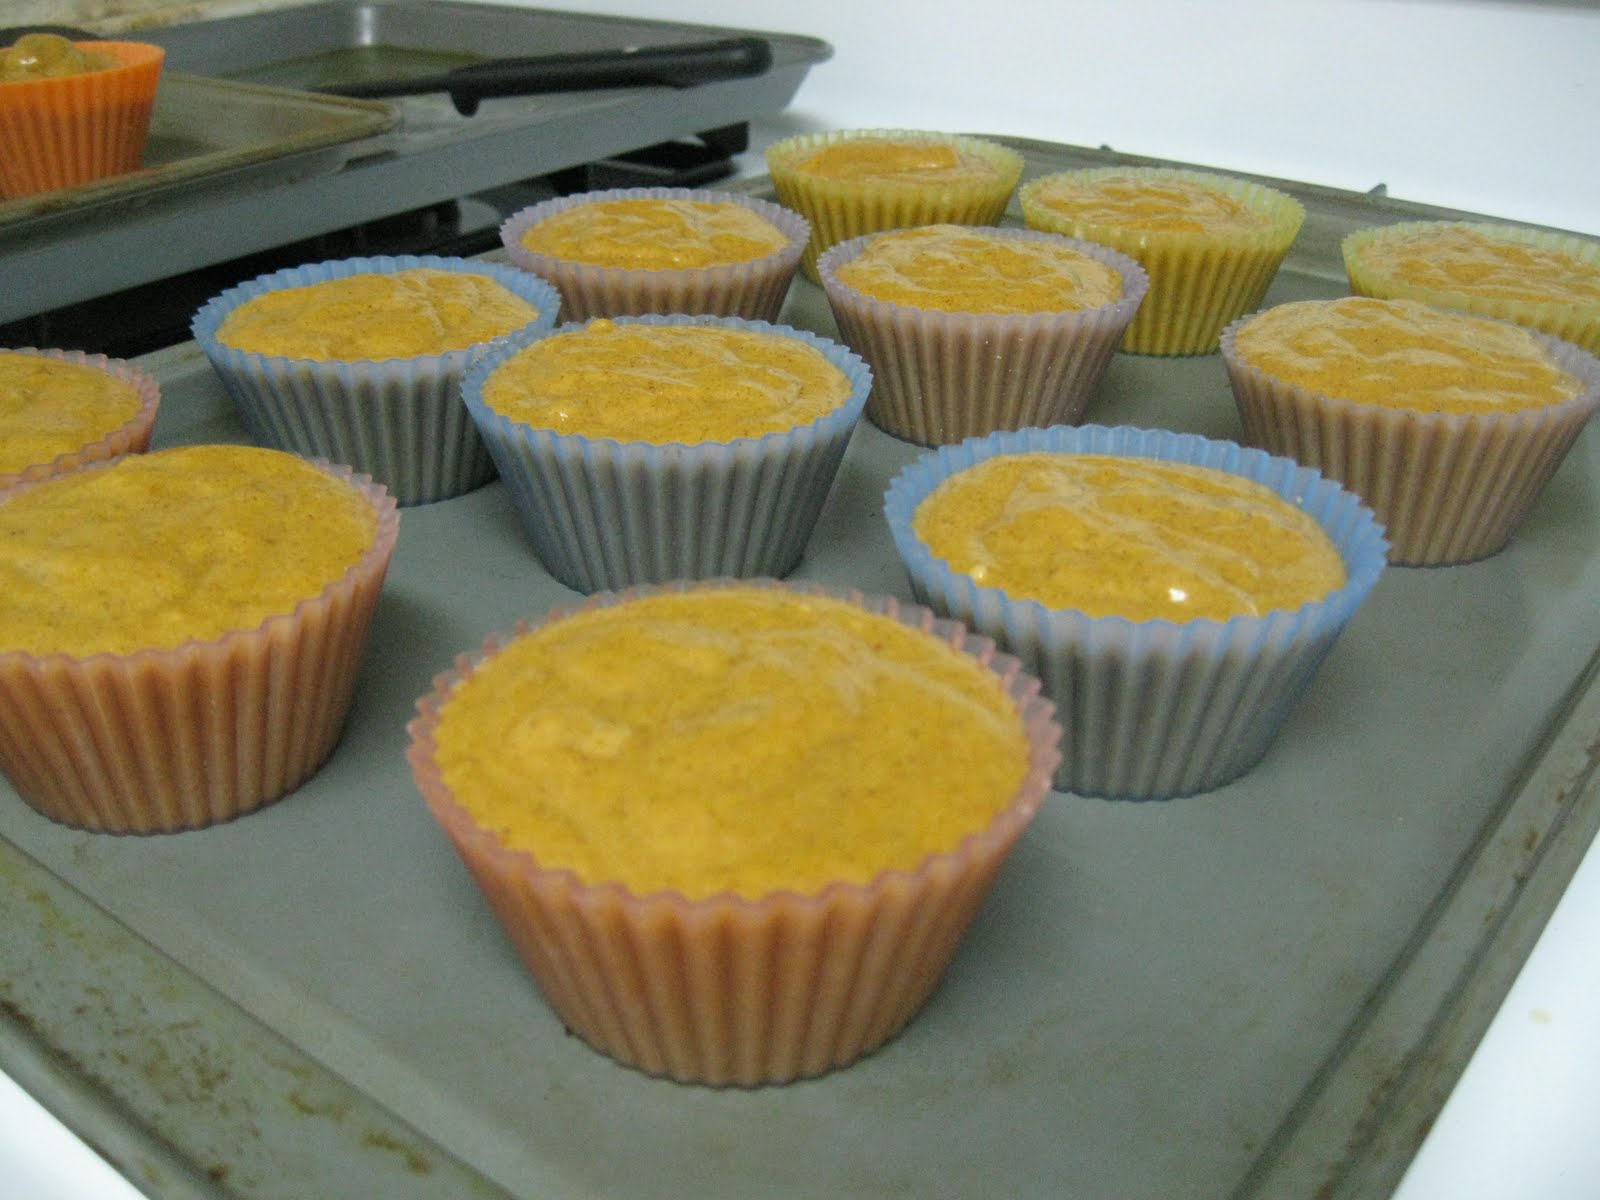
Monday June 6th - 3 hours. 7 cakes baked. Saran wrapped. Into the freezer.



Tuesday June 7th - Happy anniversary mom and dad! - 3 hours. 7 more cakes baked. Saran wrapped and into the freezer.
Wednesday June 8th - no cakes baked - life was too busy that day!
Thursday June 9th - 4 hours. 15 cakes baked. Saran wrapped. Into the freezer.
Friday June 10th - 3 hours. 7 cakes baked. Etc. Butterflies are starting to form.
Saturday June 11th
The day starts at 7:30am. All the cakes come out of the freezer. 7 more cakes to bake - I need extra to account for mistakes.


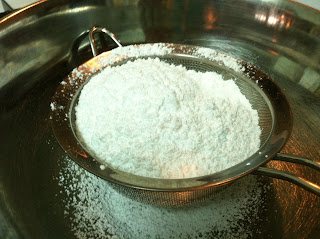
Then the icing starts: I first cut each cake in half, iced the bottom half, put the top half back on, then did a crumb layer (this is a beautiful technique where you use limited icing to just cover the cake and capture the crumbs, then stick it in the freezer to harden. Then you can easily to do a perfect final layer, free of crumbs). In the freezer to harden, and out of the freezer 3 minutes later for the final layer of crumb free icing.




Repeat 40 times.
Oh my.
I’d like to take this moment to give a shout out to my new cake turntable. Without you, I might have ripped out my hair! Thank you for your brilliance and grace.

A few weeks before this day, silly me had agreed to direct a project from 2pm-6pm today. Um - not my smartest move! Butterflies now fluttering like crazy in my stomach, I was starting to get scared that because of this 4 hour “break” from icing and decorating, I just might not finish the project in time for the party the following day. But I am a woman of my word, and a commitment is a commitment. So at 1:30pm, I left the kitchen with only 8 cakes fully iced. Oh my god.
I was back by 5:30pm. Sweater off. Tank top on. Apron on. Let’s do this!


My wonderful boyfriend, Ted, walked in the door at 8:30pm. Knee deep in icing, he offered to stay up with me all night if I needed him to. Be careful what you wish for.
I started the decorative piping at about 11pm. Then came the chocolate 50’s. Ted said maybe it looked a little boxy. So I tried cursive writing. And it got worse. It looked like a 5 year old had written it.


I was close to a nervous breakdown. The 50 was the focal point of the cake! If I couldn’t make it look nice, I was screwed. And I was usually good at this! Seeing the worry in my face, and despite being exhausted from his work day and obviously wanting to going to bed, Ted plopped back down on the couch. Uh oh, I thought to myself. If he’s this worried about me, I must be worse off then I thought!
It was 12:45am. I had to leave the house at 10:30am the following morning to deliver the cakes, and they still needed 50’s, chocolate pearls on the top, and white chocolate pearls along the sides. Plus I needed to transfer them all to 4 giant sheet trays. F*$%! (sorry - there is no other word I could use at that moment). I hated these cakes. I was worried that they looked horrible, and what would I do if t hostess hated them too?
Welcome to my irrational mind after 14 hours of cake decorating at close to 1 in the morning!
Ted suggested I go to bed and wake up fresh in the morning. I knew he was right.
After having nightmares of the top shelf in the fridge falling down and taking out the 27 cakes sitting below it, I finally fell asleep and awoke on my own at 6:30am.


Exhausted and feeling nauseous because of it, I had a chat with myself, and attempted the 50’s again...
Success!
Next came the chocolate pearls - thank you, Ted!

Then the white chocolate pearls - done. Roses. Done.


10am - my friend Steph arrives to help me. Cakes transfered. Check.


One of them bit the dust as I took it out of the freezer for a touch up. It was bound to happen. Good thing I made 43!


Cakes go into the car. It’s go time!


We got the cakes transferred onto their stands in the service kitchen at my client’s house, and fixed any imperfections. Then we stuck around, and helped bring the cakes out as someone played happy birthday on the saxophone. I was so focused on getting the cakes down that I didn’t hear the “oohs” and “aahhhs” as the ladies saw the cakes (Steph and Ted told me later).


So, the cakes turned out beautifully, and they tasted good too.
Phew!

Thank you Steph and Ted for your help that day! Without you guys, I surely would not have been able to do it!
So now the event is behind me. The swollen legs, sore back and lack of sleep from worry are behind me. What’s left is the satisfaction of having completed this challenge that not only scared me so much I thought I might throw up, testing my belief in myself at every turn, but that also tested my ability to think on my feet and keep my composure in a situation that made me extremely uncomfortable.
In the end, it was all worth it, and despite my irrational and emotional threats in the wee hours of the morning to, "never do this again!" I'm ready for the next challenge. Bring it on!
You crazy friend,
Lauren
xxx
Well, at least, to date.
A month ago, not knowing how I was going to do it, much less knowing if I had the courage to attempt it, I agreed to bake 40 4-inch round cakes for a 50th birthday party. One month, 7 days of baking, 43 cakes, 5 batches of cream cheese icing, 2 amazing helpers, and 1 unforgettable experience later, I am still standing, albeit with a slight hunch, and perhaps with a few new gray hairs! The birthday party is now 5 days behind me. Did it go off without a hitch?
Hm...
The tasting:
I showed up at my client’s house for a tasting about 3 weeks ago. I brought 2 cakes - 1 chocolate (my specialty), 1 vanilla. I wanted to do chocolate with buttercream frosting, fresh roses, and happy birthday written on the top of each one. I left having agreed to do red velvet with cream cheese icing, a 50 written in melted chocolate, a mini white rose, and detailed piping with chocolate pearls on the top, with white chocolate pearls along the side. Um, was I insane? Cake decorating is not my forte, so what the heck was I thinking?


The details:
The cakes were to sit on glass stands that stood about 20 inches high, with lids to cover them. So I would have to bake the cakes in my kitchen (as opposed to a commercial kitchen), transfer them onto baking sheets, drive the cakes over to the house (gulp), and then do the final transfer and touch ups on site the day of the party (double gulp). That’s a lot of touch ups, friends, which means a lot of potential for disaster!
The week before the party:
I raided an amazing restaurant supply store and 3 different grocery stores (on several occasions throughout the week, I might add) for all my ingredients and supplies. Hundreds of dollars later (once again, thank you visa!), I was set. Oh - except that I could only find three 4-inch round cake pans in the city. That meant I could only bake 3 cakes at a time (I didn’t want to take the chance and bake with different sized pans and then cut the cakes down to size because uniformity would have been a challenge I didn’t want to deal with). Fun times
I had a 20 square foot sized kitchen, a few inches of counter space, a standard sized oven, and a standard sized fridge. Not ideal for baking 40 cakes, but by gosh, I was going to make it work! It just meant that I was going to have to eat my way through the fridge and freezer in order to make space. No big deal.
Monday June 6th - 3 hours. 7 cakes baked. Saran wrapped. Into the freezer.


Tuesday June 7th - Happy anniversary mom and dad! - 3 hours. 7 more cakes baked. Saran wrapped and into the freezer.
Wednesday June 8th - no cakes baked - life was too busy that day!
Thursday June 9th - 4 hours. 15 cakes baked. Saran wrapped. Into the freezer.
Friday June 10th - 3 hours. 7 cakes baked. Etc. Butterflies are starting to form.
Saturday June 11th
The day starts at 7:30am. All the cakes come out of the freezer. 7 more cakes to bake - I need extra to account for mistakes.


Then the icing starts: I first cut each cake in half, iced the bottom half, put the top half back on, then did a crumb layer (this is a beautiful technique where you use limited icing to just cover the cake and capture the crumbs, then stick it in the freezer to harden. Then you can easily to do a perfect final layer, free of crumbs). In the freezer to harden, and out of the freezer 3 minutes later for the final layer of crumb free icing.


Repeat 40 times.
Oh my.
I’d like to take this moment to give a shout out to my new cake turntable. Without you, I might have ripped out my hair! Thank you for your brilliance and grace.

I was back by 5:30pm. Sweater off. Tank top on. Apron on. Let’s do this!


My wonderful boyfriend, Ted, walked in the door at 8:30pm. Knee deep in icing, he offered to stay up with me all night if I needed him to. Be careful what you wish for.
I started the decorative piping at about 11pm. Then came the chocolate 50’s. Ted said maybe it looked a little boxy. So I tried cursive writing. And it got worse. It looked like a 5 year old had written it.


I was close to a nervous breakdown. The 50 was the focal point of the cake! If I couldn’t make it look nice, I was screwed. And I was usually good at this! Seeing the worry in my face, and despite being exhausted from his work day and obviously wanting to going to bed, Ted plopped back down on the couch. Uh oh, I thought to myself. If he’s this worried about me, I must be worse off then I thought!
It was 12:45am. I had to leave the house at 10:30am the following morning to deliver the cakes, and they still needed 50’s, chocolate pearls on the top, and white chocolate pearls along the sides. Plus I needed to transfer them all to 4 giant sheet trays. F*$%! (sorry - there is no other word I could use at that moment). I hated these cakes. I was worried that they looked horrible, and what would I do if t hostess hated them too?
Welcome to my irrational mind after 14 hours of cake decorating at close to 1 in the morning!
Ted suggested I go to bed and wake up fresh in the morning. I knew he was right.
After having nightmares of the top shelf in the fridge falling down and taking out the 27 cakes sitting below it, I finally fell asleep and awoke on my own at 6:30am.


Exhausted and feeling nauseous because of it, I had a chat with myself, and attempted the 50’s again...
Success!
Next came the chocolate pearls - thank you, Ted!

Then the white chocolate pearls - done. Roses. Done.


10am - my friend Steph arrives to help me. Cakes transfered. Check.

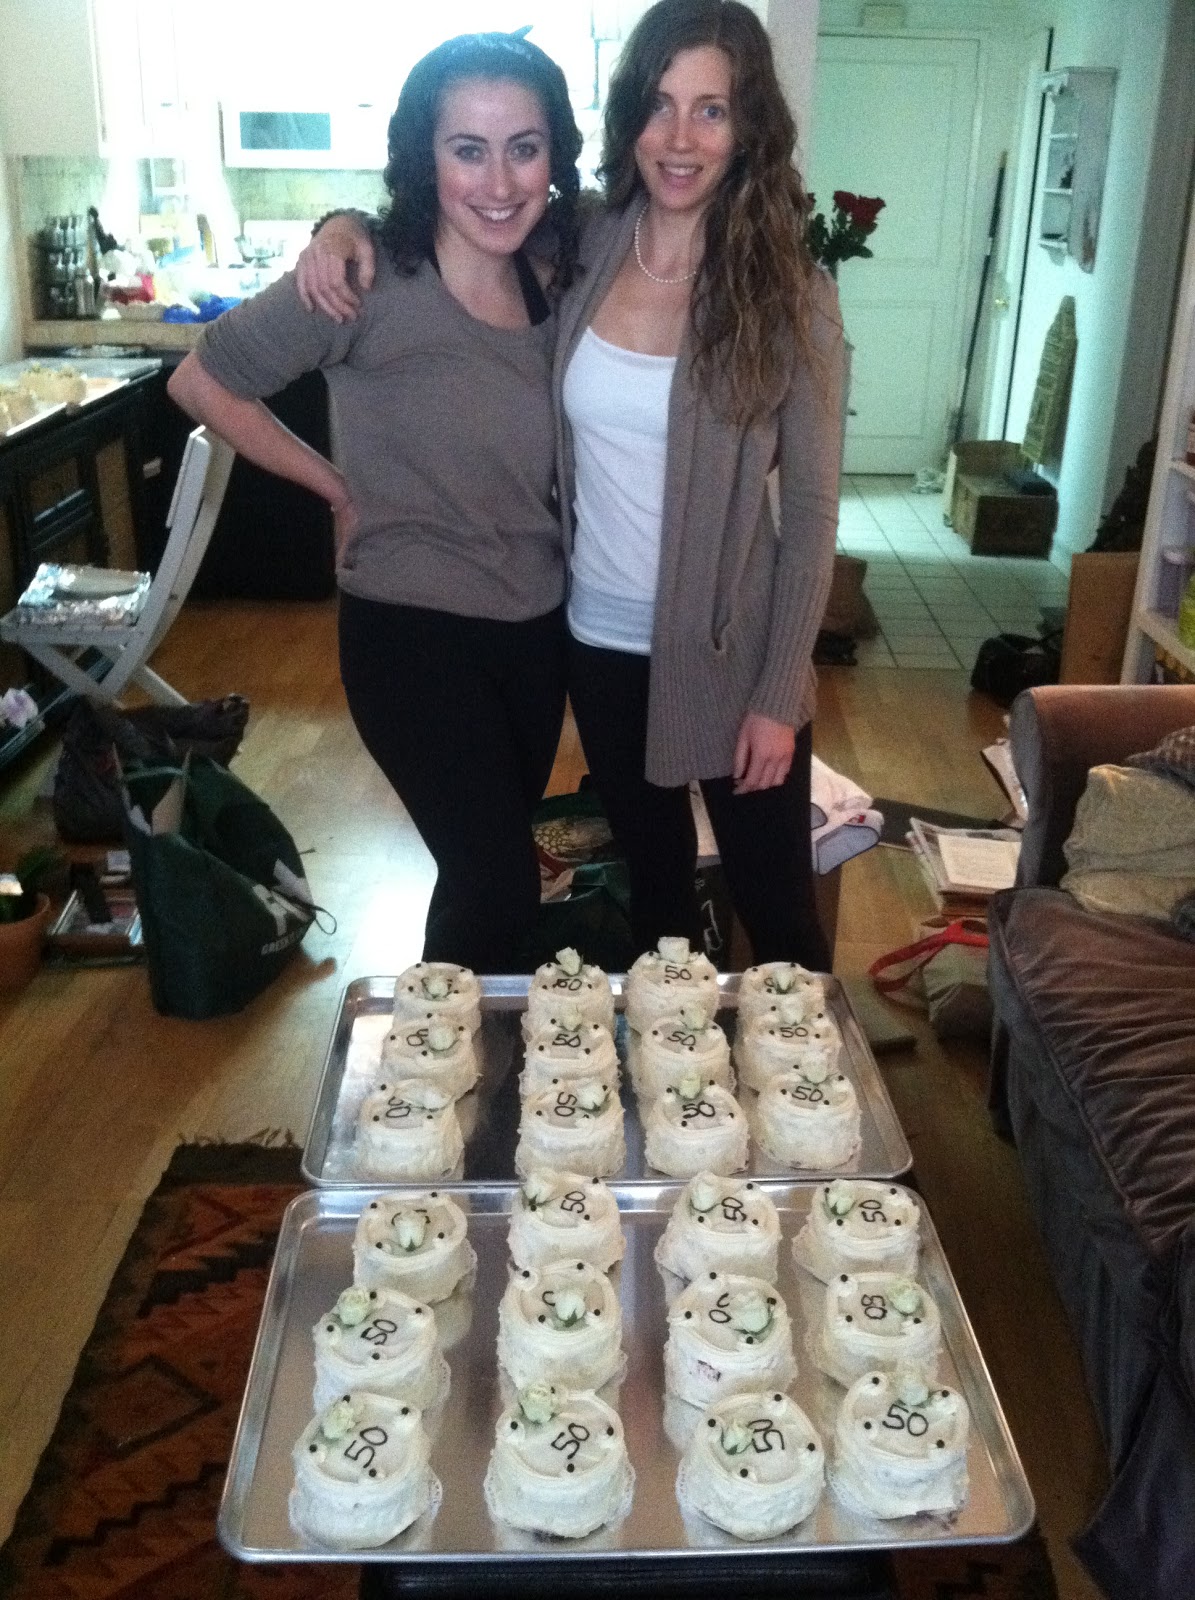
One of them bit the dust as I took it out of the freezer for a touch up. It was bound to happen. Good thing I made 43!


Cakes go into the car. It’s go time!


We got the cakes transferred onto their stands in the service kitchen at my client’s house, and fixed any imperfections. Then we stuck around, and helped bring the cakes out as someone played happy birthday on the saxophone. I was so focused on getting the cakes down that I didn’t hear the “oohs” and “aahhhs” as the ladies saw the cakes (Steph and Ted told me later).


So, the cakes turned out beautifully, and they tasted good too.
Phew!


Thank you Steph and Ted for your help that day! Without you guys, I surely would not have been able to do it!
So now the event is behind me. The swollen legs, sore back and lack of sleep from worry are behind me. What’s left is the satisfaction of having completed this challenge that not only scared me so much I thought I might throw up, testing my belief in myself at every turn, but that also tested my ability to think on my feet and keep my composure in a situation that made me extremely uncomfortable.
In the end, it was all worth it, and despite my irrational and emotional threats in the wee hours of the morning to, "never do this again!" I'm ready for the next challenge. Bring it on!
You crazy friend,
Lauren
xxx